Solution Description

Setting up Single Sign-On

Intellifold supports any OpenID Connect (OIDC) compatible Identity Provider.
This guide uses Microsoft Entra ID as the example.

Introduction

Intellifold Process Mining & AI supports OpenID Connect (OIDC) integration, allowing your organisation's users to securely sign in to your dedicated Intellifold company environment using an OIDC compatible Identity Provider such as Microsoft Entra ID.

Each customer receives a dedicated company environment on the Intellifold platform, identified by a unique Company ID. Once Microsoft Entra ID has been configured, users can authenticate using an existing identity provider (IdP), allowing your organisation to manage authentication, Multi-Factor Authentication (MFA), Conditional Access policies, and user lifecycle from within Microsoft Entra ID.

Single sign-on can be enabled for the company environment once the required Entra ID application details have been configured or shared with Intellifold. Once enabled, your users can sign in through Entra ID login (previously Azure AD). This may include MFA steps, conditional access, device compliance, or other security controls managed by your Entra ID.

Before you start

You will need the following:

  • Access to the Microsoft Entra admin centre
  • Permission to create or manage App registrations
  • Redirect URI as provided by Intellifold
  • Your Intellifold company ID
  • Intellifold company admin login (only for self setup)

Step 1 - Create the Intellifold app in Entra ID

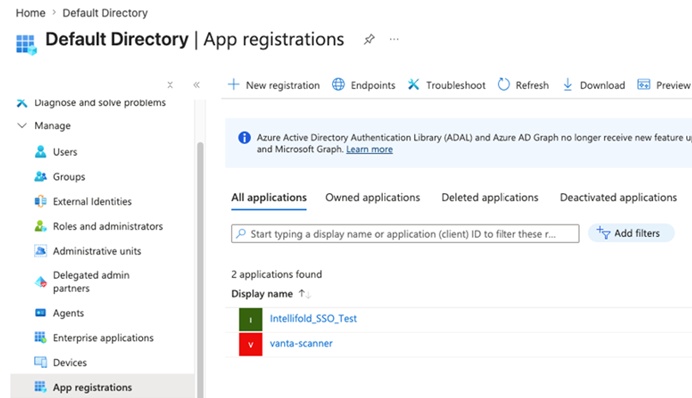
Add the Intellifold application:

  • Open the Microsoft Entra admin centre
  • Go to Identity > Applications > App registrations
  • Click New registration
  • Enter an application name, e.g. Intellifold
  • Select the supported account type as required. In most cases: Accounts in this organisational directory only
  • Click Register

Step 2 - Configure Authentication

  • Open the newly created Intellifold App
  • Go to Authentication
  • Click Add a platform (if no platform exists yet)
  • Select Web
  • Under Redirect URI, enter: https://app.processmining.prod. intellifold.com.au/processmining /login/oauth2/code/sso
  • Click Configure or Save to confirm

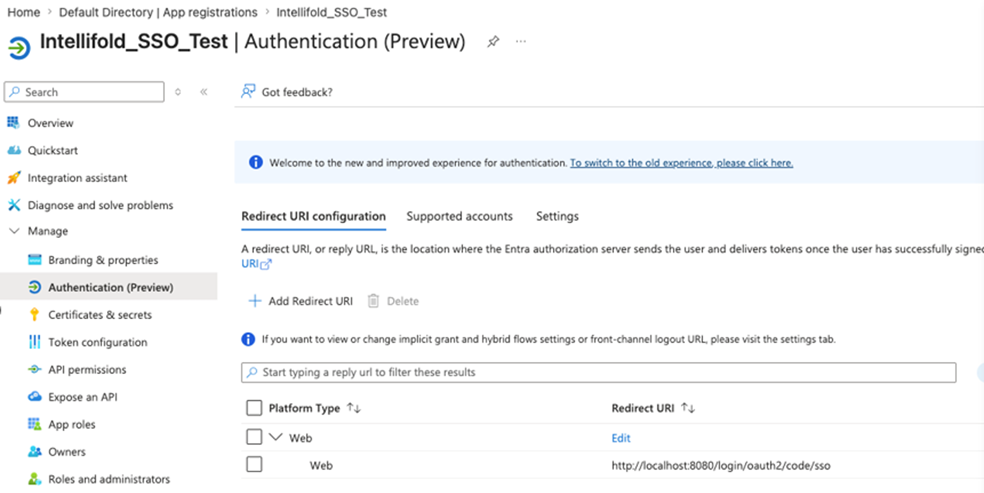
The Redirect URI must exactly match. An incorrect URI will prevent successful authentication.

Step 3 - Configure Token Claims

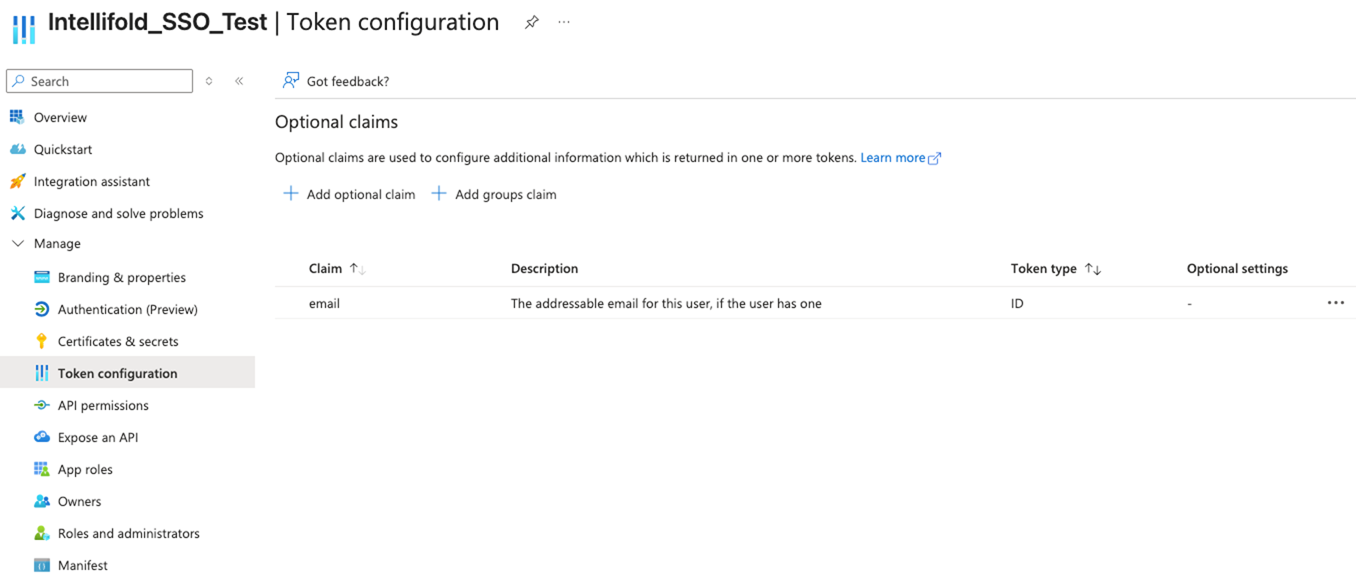
Intellifold uses the email address contained within the ID Token to identify and authenticate the user.
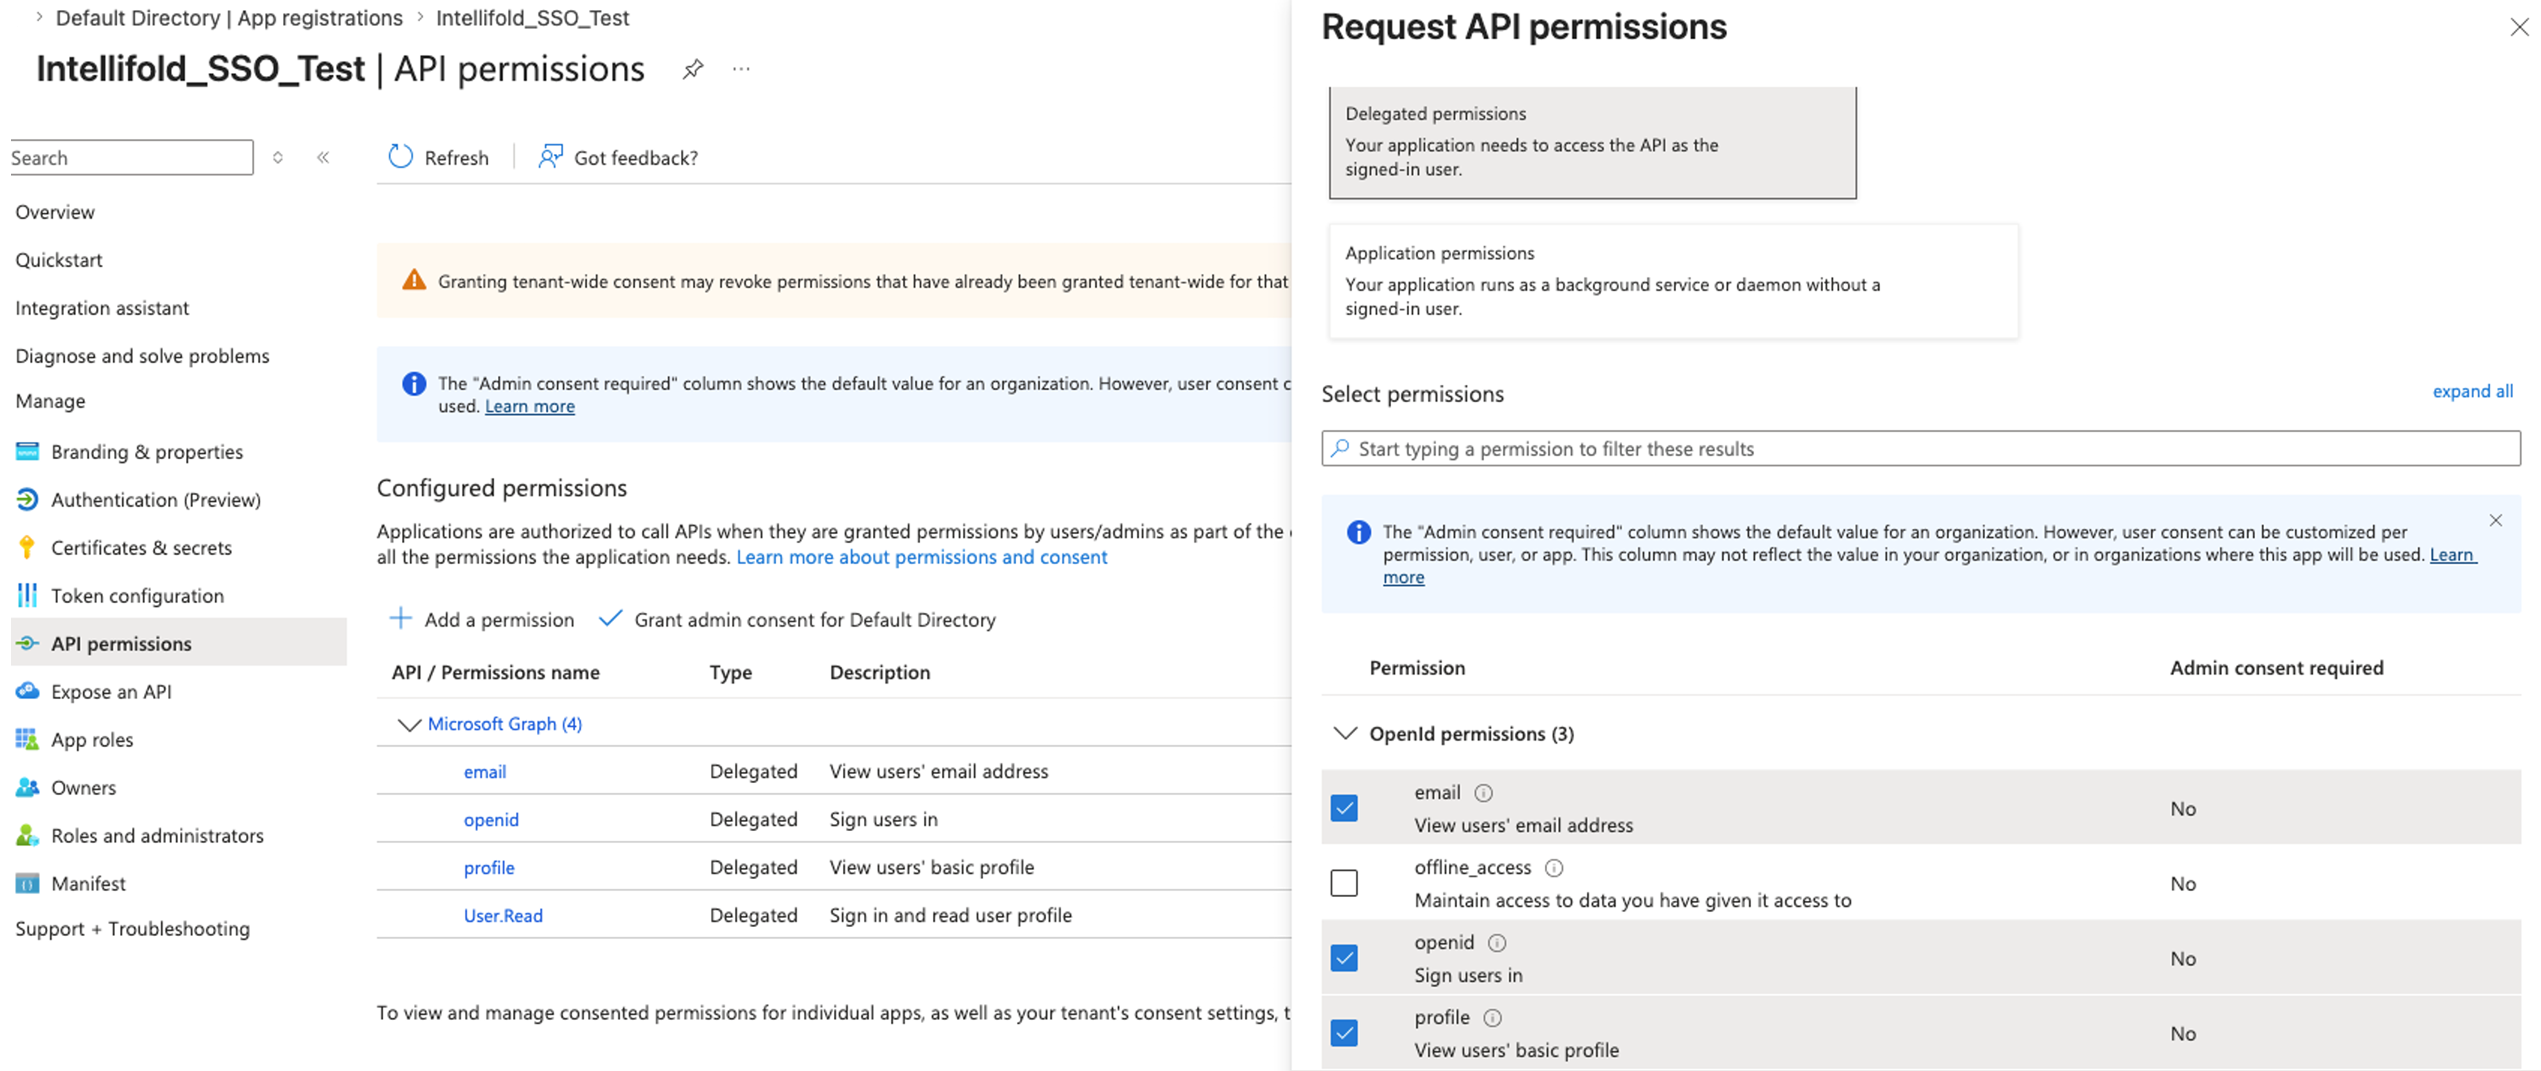
  • Go to Token Configuration
  • Click Add optional Claim
  • Set Token type as ID and Claim as Email
  • Click Add to add email as token ID
  • If prompted to enable Microsoft Graph permissions,
    click accept

Step 4 - Configure API permissions

  • In the app registration, select API permissions
  • Click Add a permission
  • Select Microsoft Graph
  • Select Delegated permissions
  • Add permissions for email, openid, and profile
  • Click Add permissions
  • Select Grant admin consent if required

Permission

Purpose

Email

Allows access to the user email claim

Openid

Allows OpenID Connect sign-in

Profile

Allows access to basic user profile information

API permissions screen showing configured delegated Microsoft Graph permissions and OpenId permissions selection.

Step 5 - Create a client secret

  • In the app registration, select Certificates & secrets.
  • Select New client secret
  • Enter a description, e.g. Intellifold SSO Secret
  • Choose an expiry if applicable
  • Click Add
  • Copy the Value immediately (only shown once!)

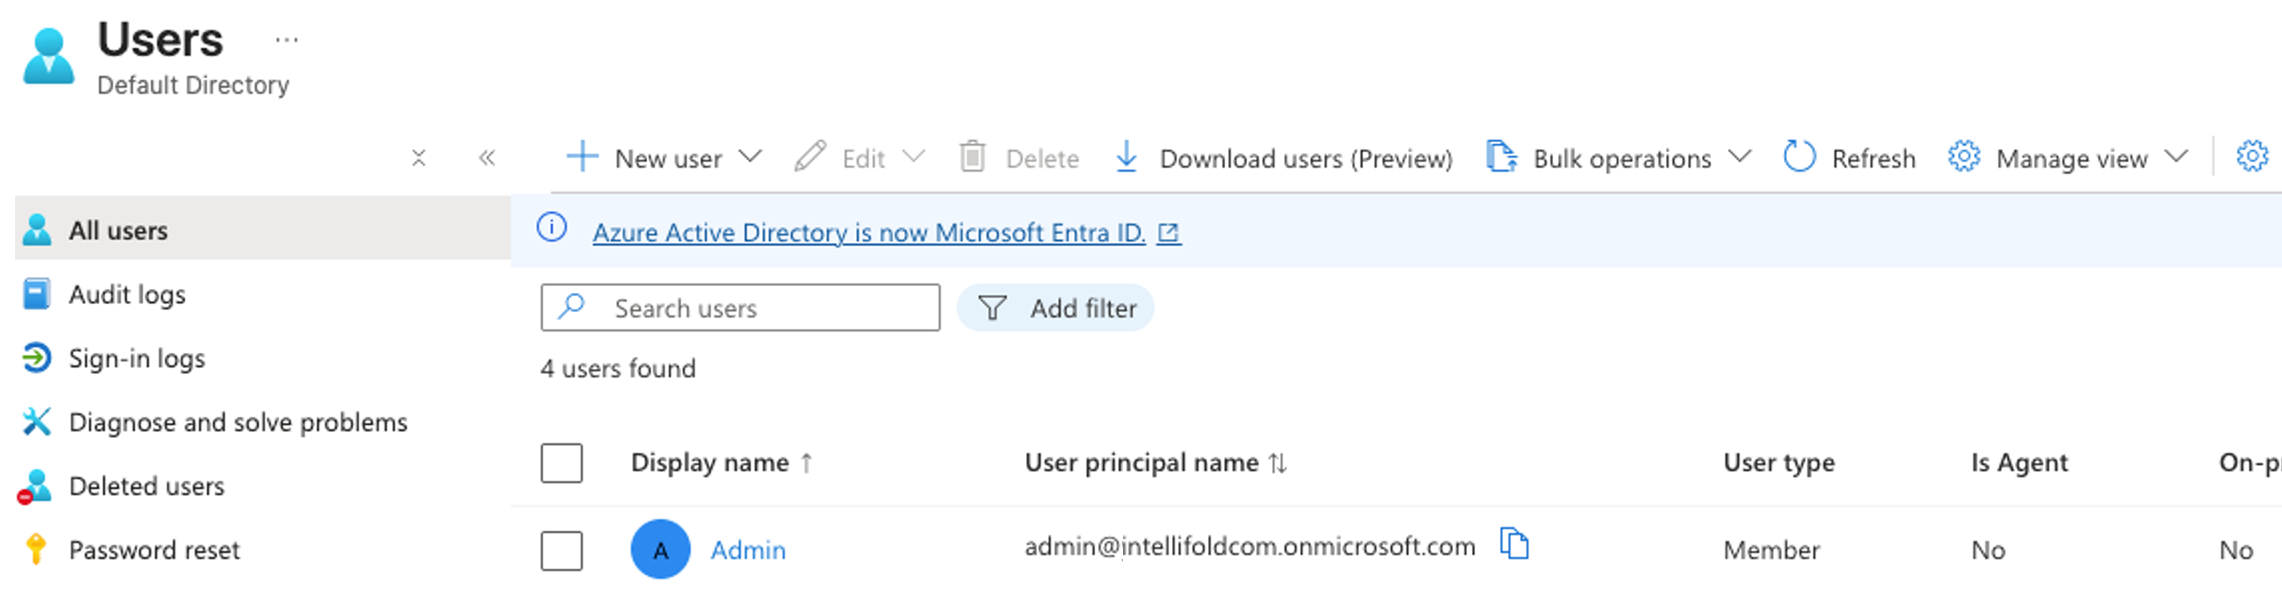
Users must exist within your Microsoft Entra tenant and use the same email address as their Intellifold account.

Step 6 - Assign Users

  • Go to Enterprise ApplicationsIntellifold Process Mining & AIUsers and Groups
  • Click Add User/Group
  • Assign all users or groups that should have access

The user's email address in Microsoft Entra ID must exactly match the email address configured in Intellifold. This allows Intellifold to correctly identify and authorise the user after successful sign-in.

Step 7 - Configure within Intellifold

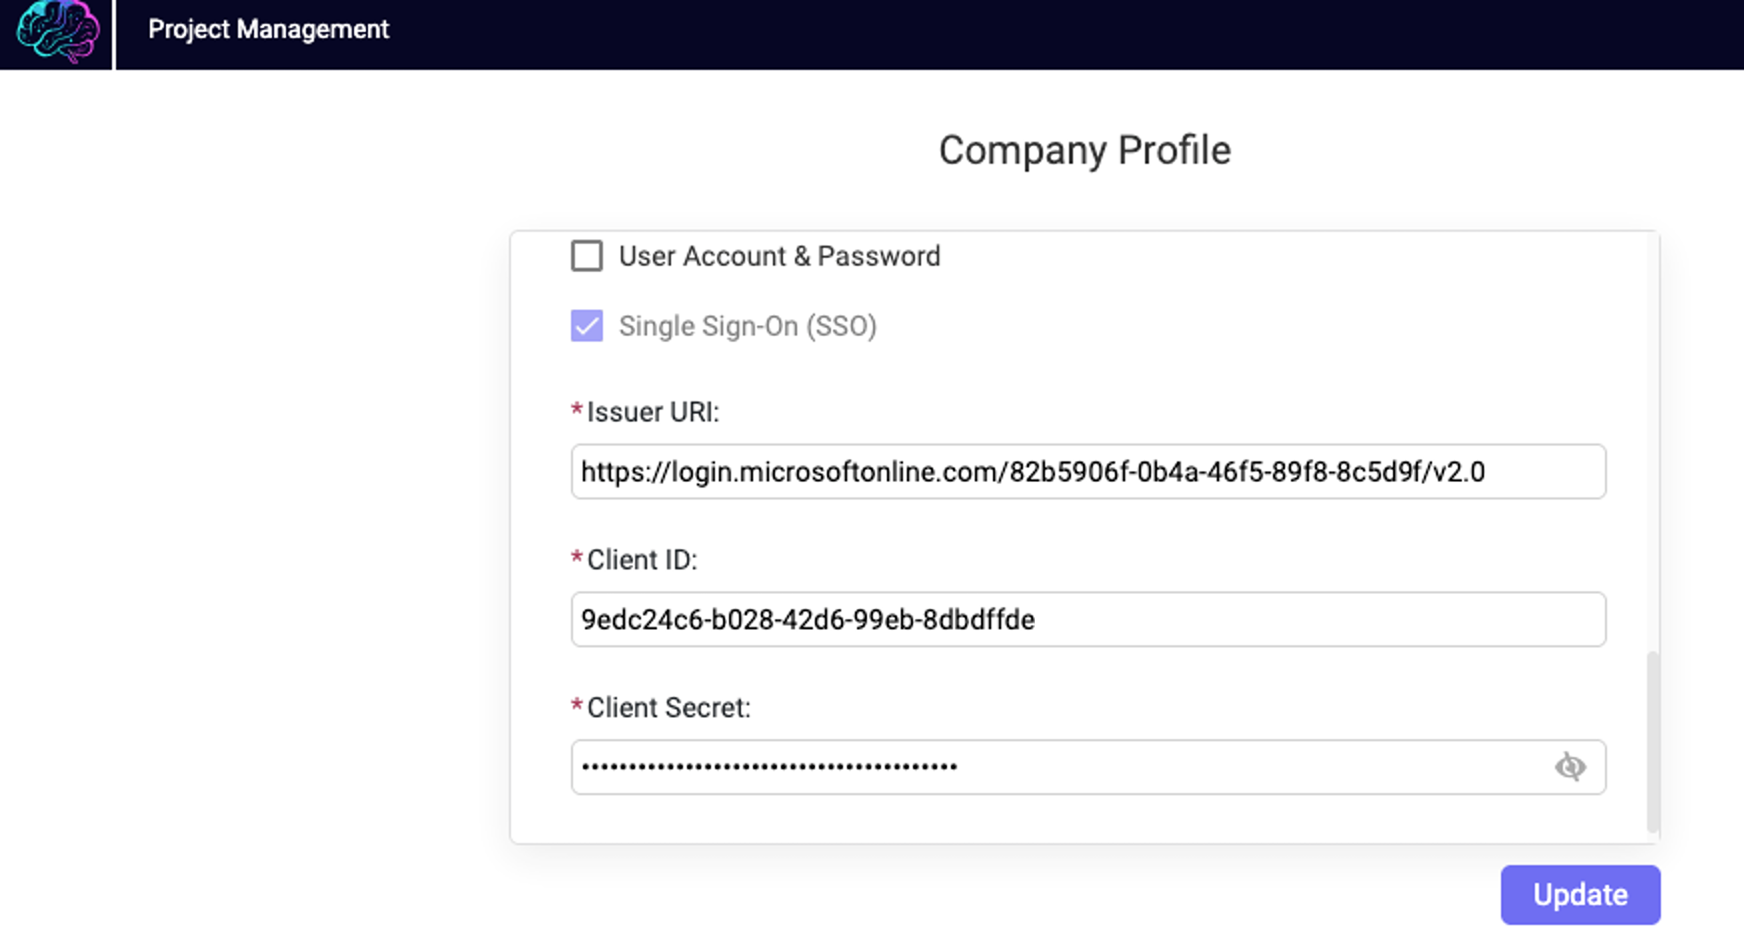
Share the details with Intellifold or configure directly in the Intellifold admin portal

Information

Purpose

Issuer URI

Microsoft URI link (https://login.microsoftonline.com/<TenantID>/v2.0)

Client ID

Application ID number from Intellifold app registration (Step 1)

Client Secret

Secret key (Step 6)

Company Profile form with Single Sign-On enabled and fields for Issuer URI, Client ID, and hidden Client Secret.

Step 8 - Test SSO authentication

Browse to your company environment: https://app.processmining.prod.intellifold.com.au/#/your-company-id

Select Sign in with SSO. Successful authentication should automatically sign you into the platform.

Sign up for a free trial!

Thank you! Your submission has been received!
Oops! Something went wrong while submitting the form. Please complete fields and try again...